Command Line Interface And A Terminal

The command line interface (CLI) is one of the most fundamental tools for developers. While it might seem intimidating at first, learning to use the terminal will make you significantly more productive and is essential for modern development workflows.
What You’ll Learn
- What a terminal is and how it works
- Why you should use the terminal
- The difference between GUI and CLI
- Essential terminal commands
- Best practices for working with the command line
What is a Terminal?
A terminal (also called a console or command line) is a text-based interface for interacting with your computer’s operating system. Instead of clicking buttons and icons, you type commands to perform actions.
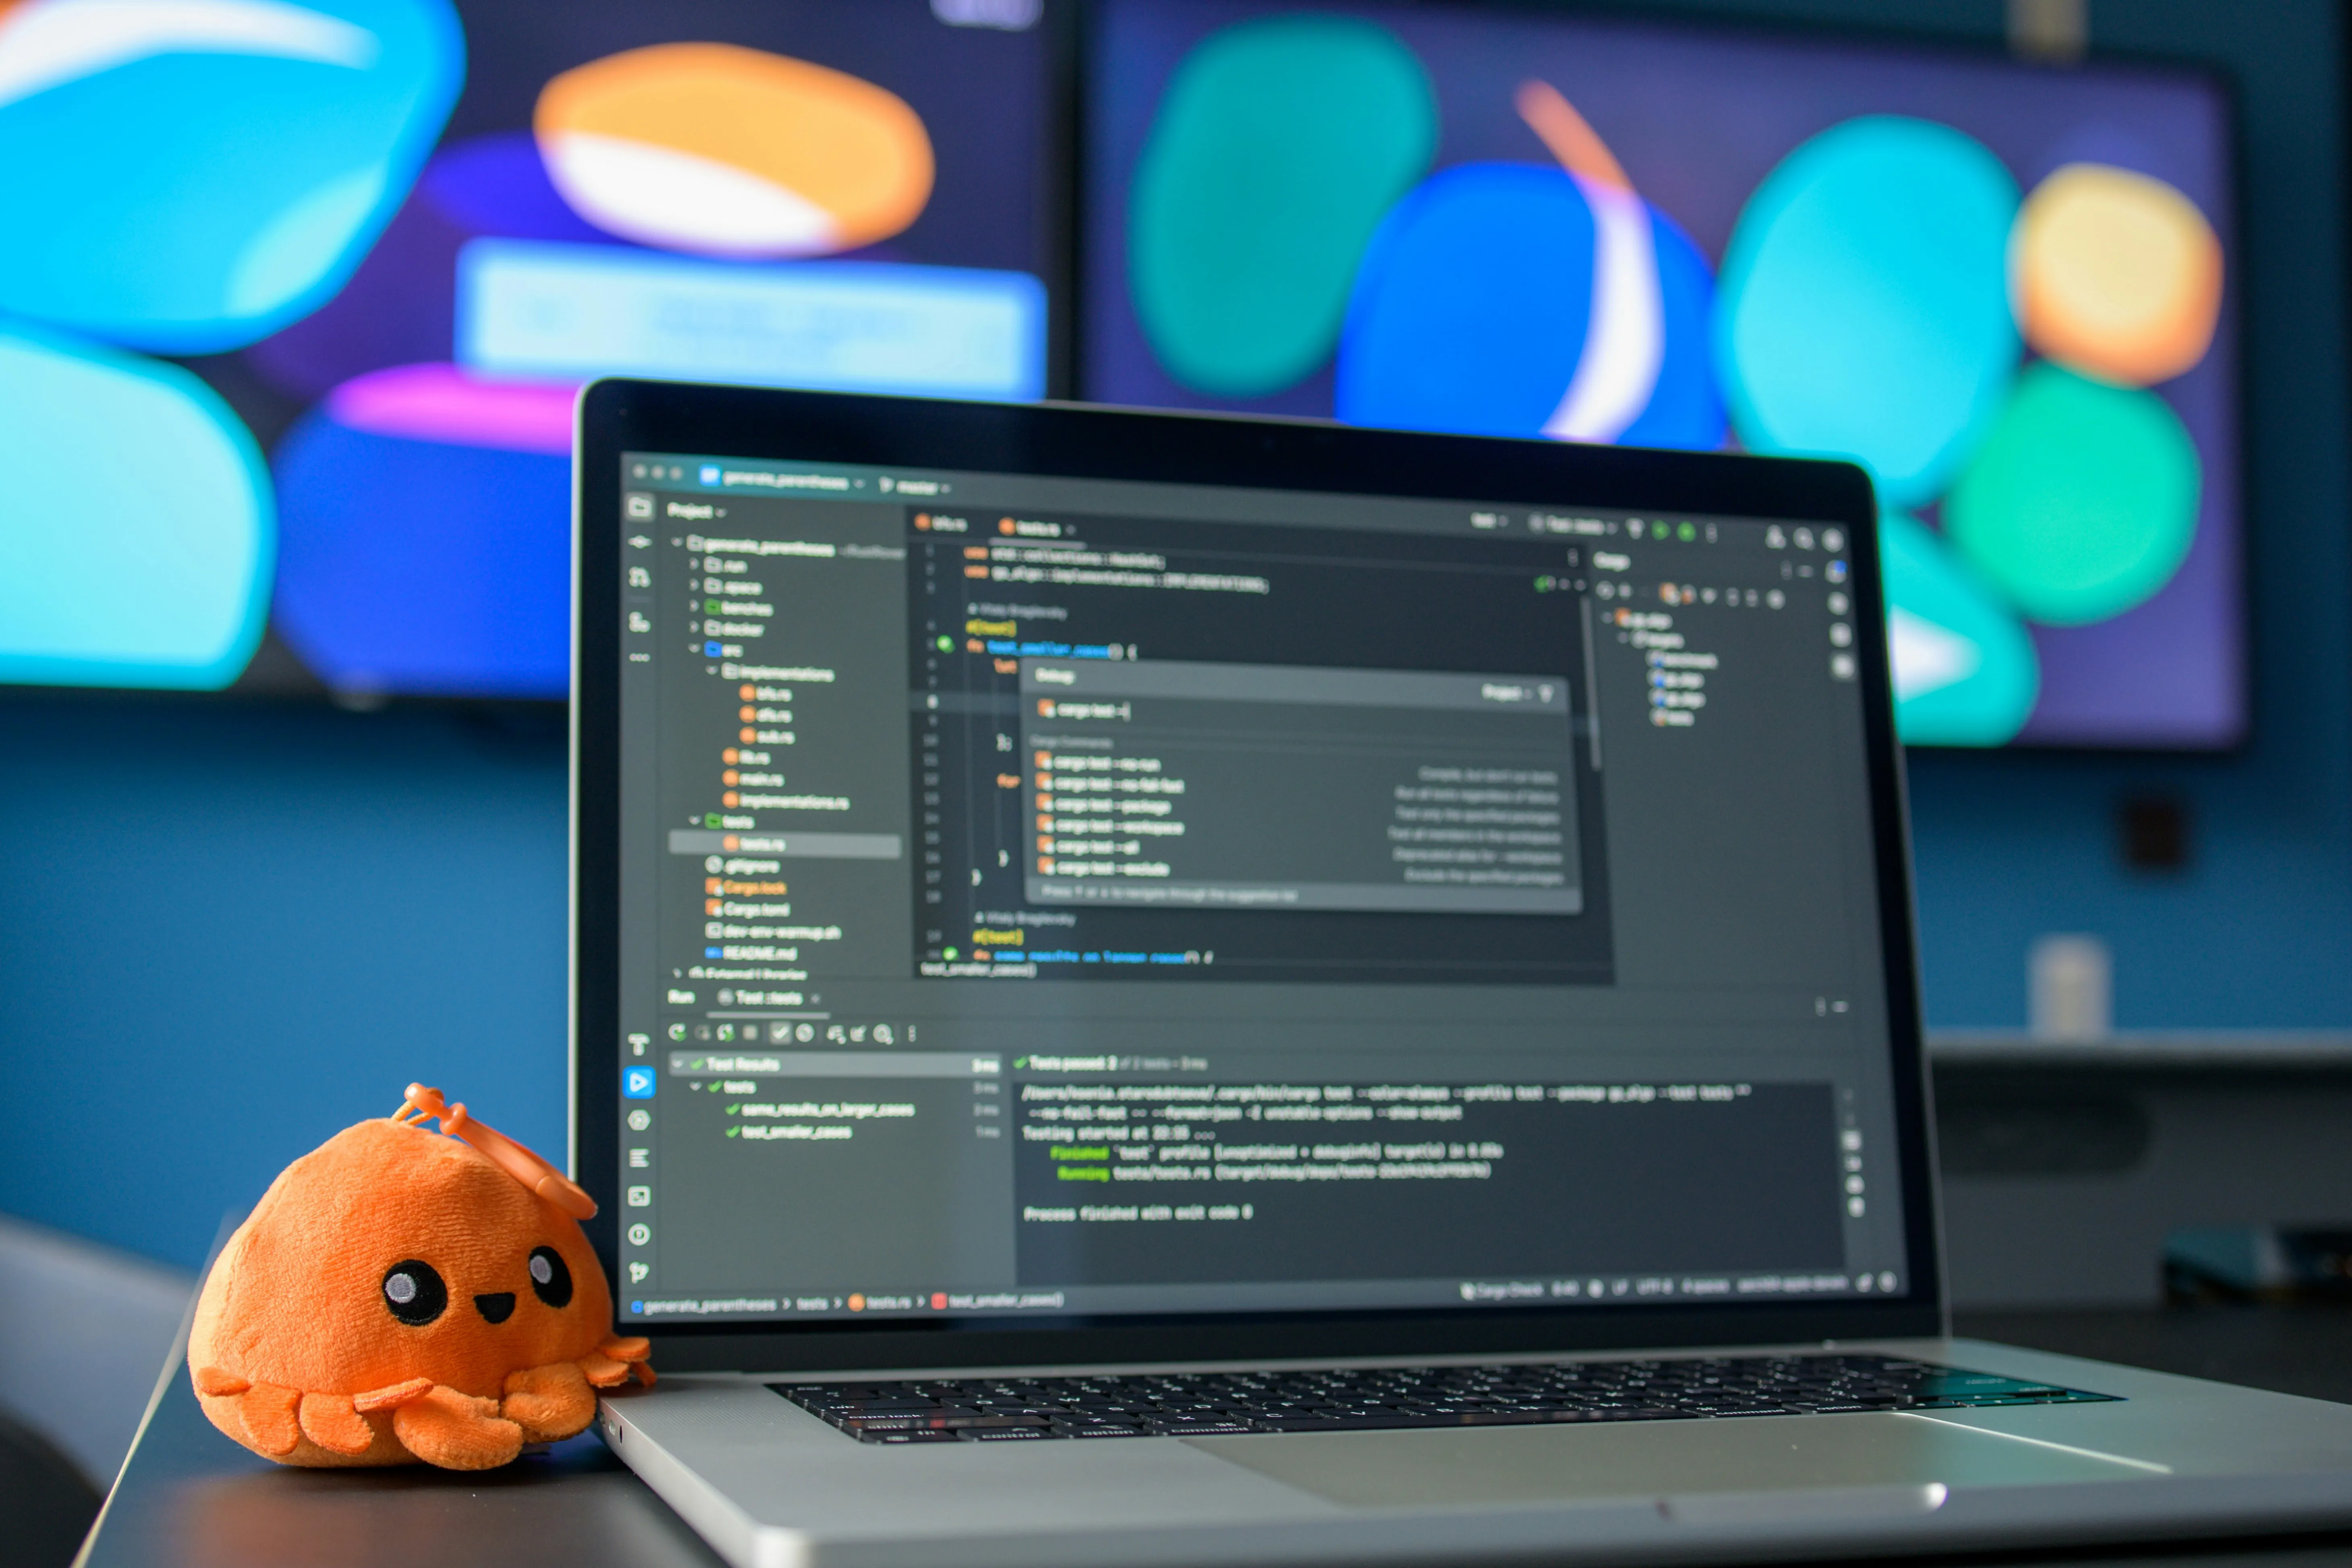
[Image: Terminal application showing a command prompt]
When you open a terminal, you see a prompt waiting for your input. You type a command, press Enter, and the terminal executes it and shows you the result. It’s a direct conversation with your computer.
The terminal runs a shell, which is the program that interprets your commands. Common shells include:
- Bash - The default shell on most Linux distributions and older macOS versions
- Zsh - The default shell on modern macOS
- PowerShell - Common on Windows
- Fish - A user-friendly alternative shell
Why You Should Use the Terminal
Many beginners wonder why they should bother with the terminal when they can do everything with a graphical interface. Here are some compelling reasons:
Speed. Once you learn the commands, many tasks are faster to perform in the terminal than with a mouse. Renaming 100 files? One command. Creating a project structure? A few commands.
Automation. You can write scripts to automate repetitive tasks. This is simply not possible with a GUI alone.
Power. Some operations are only available through the command line. Many developer tools (git, npm, docker) are CLI-first.
Remote access. When working with servers, the terminal is often the only interface available.
Reproducibility. Commands can be shared and documented. “Run npm install” is clearer than “Click the green button in the top-right corner.”
GUI vs CLI
[Image: Comparison between GUI and CLI interfaces]
| Aspect | GUI (Graphical) | CLI (Command Line) |
|---|---|---|
| Learning curve | Lower | Higher initially |
| Speed | Slower for repetitive tasks | Faster once learned |
| Automation | Limited | Excellent |
| Precision | Point and click | Exact commands |
| Remote access | Requires special tools | Built-in |
| Resource usage | Higher | Lower |
The truth is, you don’t have to choose one or the other. Most developers use both. The key is knowing when each is more appropriate.
Which Terminal Do I Use?
macOS: The built-in Terminal app works fine, but many developers prefer iTerm2 for its additional features. With macOS using Zsh as the default shell, you get a great experience out of the box. You can enhance it further with Oh My Zsh.
Windows: Windows Terminal is the modern choice. You can also use Git Bash or WSL (Windows Subsystem for Linux) for a Linux-like experience.
Linux: Your distribution comes with a terminal emulator. Popular choices include GNOME Terminal, Konsole, and Alacritty.
Essential Commands
Let’s learn the most important commands you’ll use daily.
pwd - Print Working Directory
Shows your current location in the file system:
pwd
# Output: /Users/adrian/Projects
Think of it as asking “Where am I?” Always use this when you’re unsure of your current location.
ls - List Directory Contents
Shows files and folders in the current directory:
# Basic listing
ls

# Detailed listing with file sizes and dates
ls -la

# List a specific directory
ls ~/Projects
The -l flag shows a detailed view, and -a shows hidden files (those starting with a dot).
cd - Change Directory
Navigate between directories:
# Go to a specific directory
cd ~/Projects

# Go up one level
cd ..

# Go up two levels
cd ../..

# Go to home directory
cd ~

# Go to the previous directory
cd -
mkdir - Make Directory
Create new directories:
# Create a single directory
mkdir my-project

# Create nested directories
mkdir -p my-project/src/components

# Create multiple directories
mkdir css js images
The -p flag creates parent directories as needed, so you don’t have to create each level separately.
touch, cp, mv - Create, Copy, Move
These three commands handle basic file operations:
# Create an empty file
touch index.html

# Copy a file
cp index.html backup.html

# Copy a directory (recursive)
cp -r src/ src-backup/

# Move (or rename) a file
mv old-name.js new-name.js

# Move a file to another directory
mv file.txt ~/Documents/
Bonus Commands
Here are some additional commands that are extremely useful:
# Remove a file
rm file.txt

# Remove a directory and its contents
rm -rf directory/

# Display file contents
cat file.txt

# Search for text in files
grep "search term" file.txt

# Search recursively in a directory
grep -r "search term" ./src

# Clear the terminal screen
clear

# View command history
history

# Display disk usage
du -sh *

# Download a file
curl -O https://example.com/file.zip
Warning: Be very careful with
rm -rfas it permanently deletes files without confirmation. Double-check your path before running it.
Why Terminal for Git and npm?
Two of the most important developer tools are primarily used through the terminal:
Git - Version control is essential for any developer. While GUI tools exist, using git from the terminal gives you full control and is the most common approach:
git init
git add .
git commit -m "Initial commit"
git push origin main
npm (Node Package Manager) - Managing JavaScript packages is done through the terminal:
npm init -y
npm install react
npm run dev
npm run build
Understanding the terminal makes working with these tools natural and efficient.
Best Practices
Here are some tips for being effective with the terminal:
- Use tab completion. Press Tab to auto-complete file names and commands. This saves time and prevents typos.
- Use the up arrow. Press the up arrow to cycle through previous commands. No need to retype them.
- Use
Ctrl+Cto cancel. If a command is running and you want to stop it, pressCtrl+C. - Use
Ctrl+Rto search history. PressCtrl+Rand start typing to search through your command history. - Create aliases for common commands. Add shortcuts to your shell configuration file (
.bashrcor.zshrc). - Be careful with destructive commands. Always double-check before running
rm, especially with the-rfflags. - Learn one new command at a time. Don’t try to memorize everything at once. Pick one new command each week and use it regularly.
Closing Notes
The terminal is a developer’s best friend. While it has a steeper learning curve than graphical interfaces, the investment pays off many times over. Start with the essential commands covered in this post, and gradually expand your repertoire.
Remember, every expert was once a beginner. The more you use the terminal, the more natural it becomes. Soon you’ll wonder how you ever worked without it.
Practice what you just learned in our browser editor with AI assistance.
Try Demo Editor
Creator of BigDevSoon
Full-stack developer and educator passionate about helping developers build real-world skills through hands-on projects. Creator of BigDevSoon, a vibe coding platform with 21 projects, 100 coding challenges, 40+ practice problems, and Merlin AI.
Related Posts

Autoformat Code With Prettier
Prettier saves a lot of time and automates code formatting. Learn how to integrate with it, ESLint, Husky integration, and recommended setup is also included.

Building Games with AI: How We Shipped a 2D Roguelite in 10 Days
A complete breakdown of our AI-powered indie game dev workflow — Claude Code, Unity MCP, Replicate, ElevenLabs, and more. From zero to Steam-ready in 10 days.
16 Free Developer Tools You Can Use Right Now (No Signup Required)
A curated list of 16 free browser-based developer tools for CSS, images, SEO, data, and code editing. Every tool works instantly in your browser with no account needed.